Many of you know my Seiko SNXS79—it kicked off my YouTube channel with my first review, served as my wedding watch, and remains one of my favorites. But when I cracked the crystal, I stopped wearing it, and it broke my heart a little. After months of emotional debates, I finally decided to fix it myself. This post shares my journey, with screenshots from my latest video (check it out here). Let’s dive in!
Why This Watch Matters
This isn’t just any watch. It’s my first dress watch and holds sentimental value from my wedding day. When the crystal cracked, I felt lost—until your amazing suggestions poured in. Shoutout to Escapement & Watch Video, I gained the confidence to tackle this repair myself.
Seiko SNXS79 as my wedding watch
Seiko SNXS79 – sentimental piece
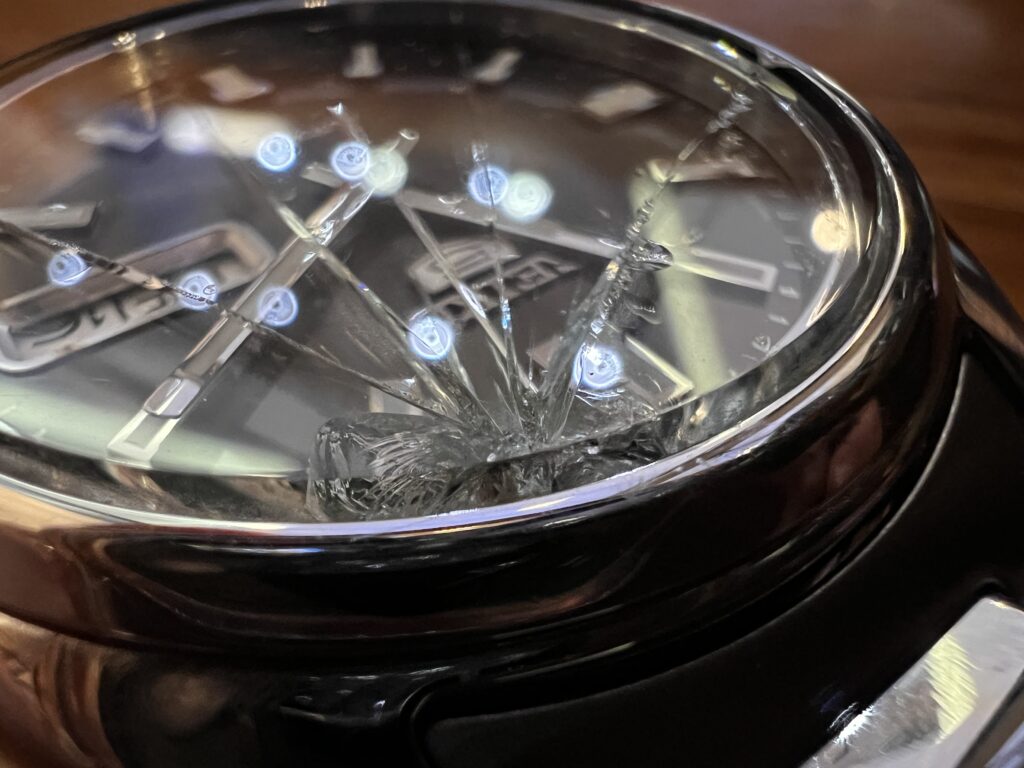
cracked seiko snxs79 crystal
The Repair Challenge
Fixing this wasn’t straightforward. Unlike typical crystal replacements, the SNXS79 has a crystal sitting atop a gasket, secured by a bezel. That means prying it open carefully—not popping it from inside after removing the movement (like a typical watch). Plus, I couldn’t use a generic crystal; I needed one designed for this Seiko model, which meant higher costs due to currency differences and shipping (I’ll share the amount I paid in the video). I ordered two crystals to avoid disaster and gathered my tools. I got my sapphire crystals from monsterwatches.
Step-by-Step Process
Here’s a quick rundown of how I did it—watch the video for the full play-by-play!
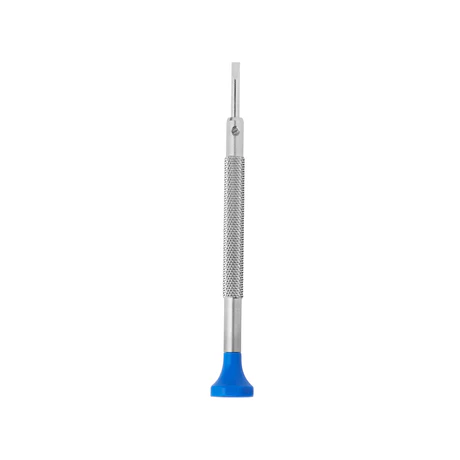
Remove the Bracelet: Start by taking off the spring bars—easy enough with the spring remover tool like this one here:
easier to fix the watch with the bracelets removed
2. Pry the Bezel: Use a yellow tool (after testing a few) to gently open the bezel. I highly advise taping it to avoid scratches (especially if you’re a beginner). This yellow tool works the best for me.
3. Remove the Old Crystal: The bezel popped off, revealing the damaged crystal. Carefully remove the crystal and put aside.
Seiko SNXS79 Dial without any crystal
4. Clean the dial: With those cracked pieces of the old Hardlex that came off, some might still sit on the gorgeous dial. Use a peg wood with a Rodico on it to pick up any of those crystals on the dial.
Rodico is a sticky, plasticine-like material used primarily in watchmaking for cleaning, holding, and placing small parts. Add a squeeze of compressed air for extra caution.
cleaning seiko snxs79 dial with Rodico
5. Install the New Crystal: Initially picked a flat crystal with anti-reflective coating, but last-minute curiosity led me to try a double-dome. I loved it! It somehow made this $100 watch even more expensive.
Note: Remember to install the gasket first before putting the new crystal & bezel on.
6. Secure with Case Presser: Used a cheap case presser (surprisingly effective!) to lock it in place. A satisfying “click” confirmed it was done.
Seiko SNXS79 with double-domed sapphire crystal
The Result
I can’t believe it—I fixed it! The double-dome crystal adds an expensive vibe, and the movement still works perfectly. This win boosted my confidence for future repairs. The video turned out shorter than expected because I didn’t expect it to be this easy.
As you expected, this has been one of my favorite watches, find out why here
Discover the joy of crafting a custom watch with Namoki Mods’ beginner-friendly Sakura Dress Watch kit. Follow my step-by-step guide and create your own Midnight Sakura Tide!
Ever dreamed of building your own watch from scratch? In my latest YouTube video, I teamed up with Namoki Mods, a Singapore-based one-stop shop for Seiko modification parts, to try their Sakura Dress Watch DIY kit. As a total beginner, I was thrilled by how approachable and fun this experience was! In this blog post, I’ll walk you through the process, share my honest review, and reveal how I customized my watch to create the Midnight Sakura Tide.
Use my discount codes ASHLEY10 or ASHLEY5 to save on your Namoki Mods purchase! Watch the full tutorial here or read on for all the details!
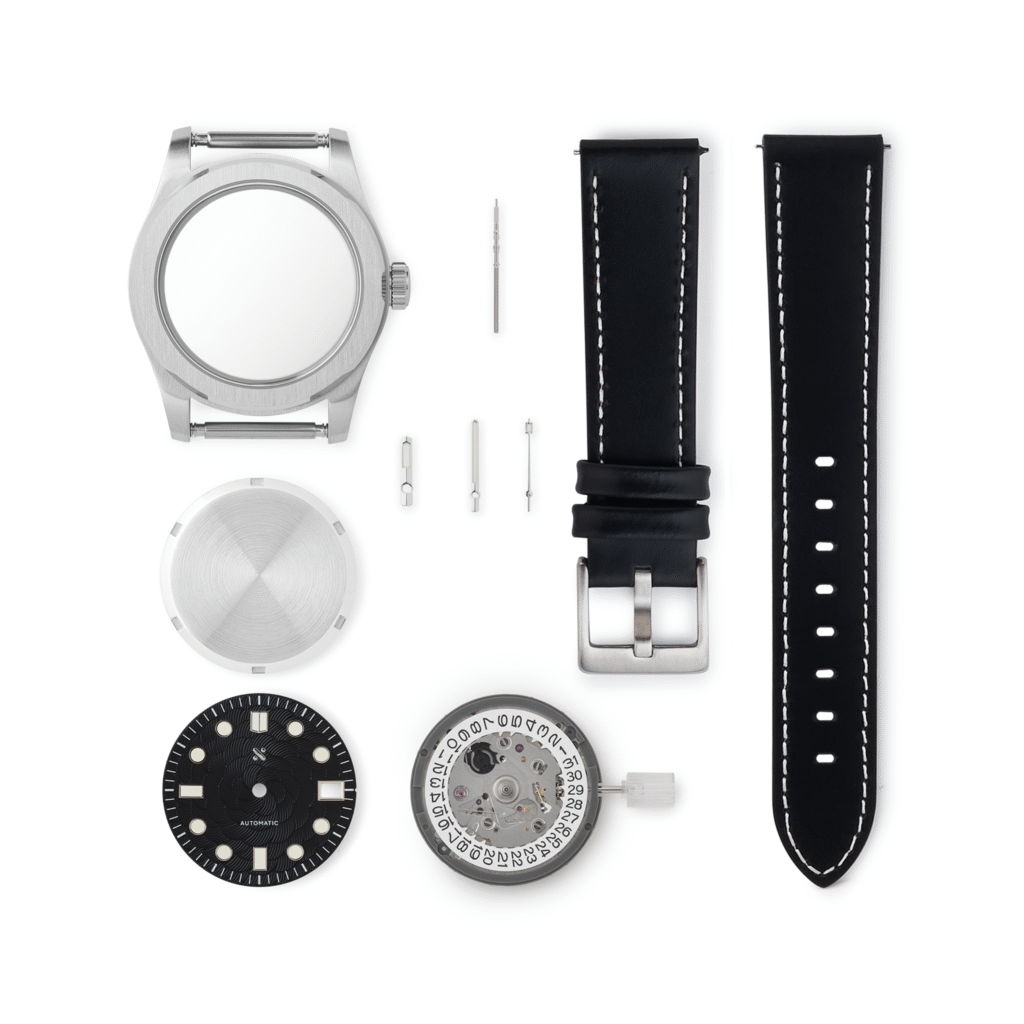
Complete Watch Components
Why Choose Namoki Mods’ Sakura Dress Watch Kit?
Namoki Mods offers a wide range of watch parts, from cases to bezels, but their DIY watch-making kits truly stand out. Among their selection, the Sakura Dress Watch kit caught my eye, and it wasn’t just because of its beginner-friendly design.
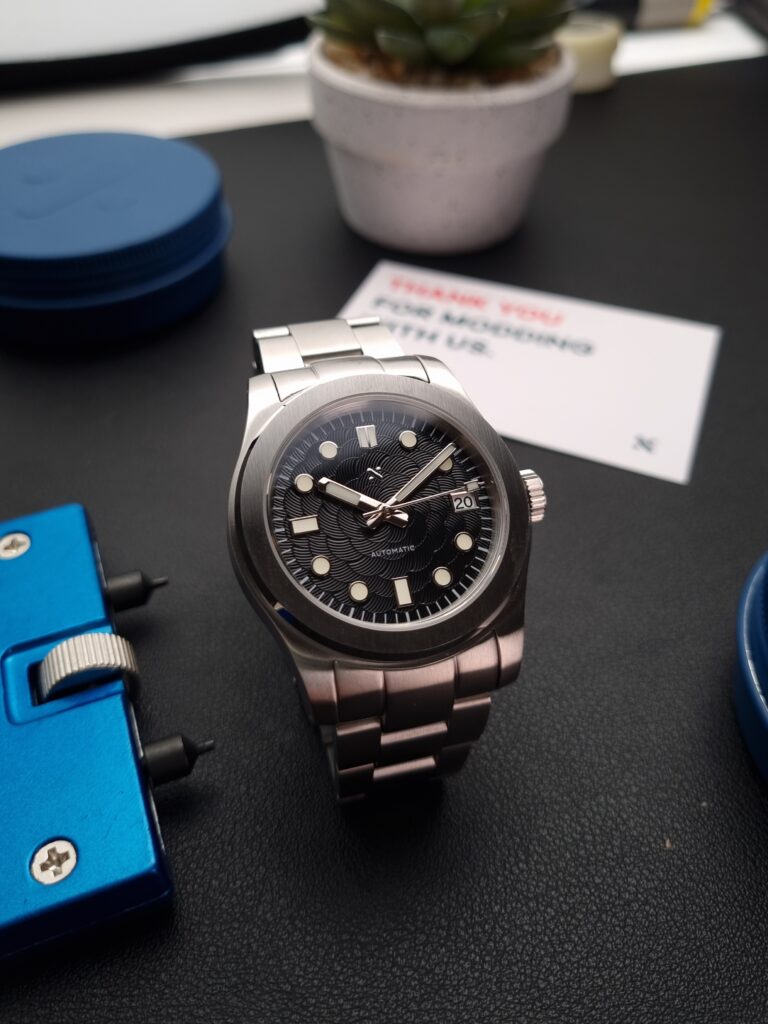
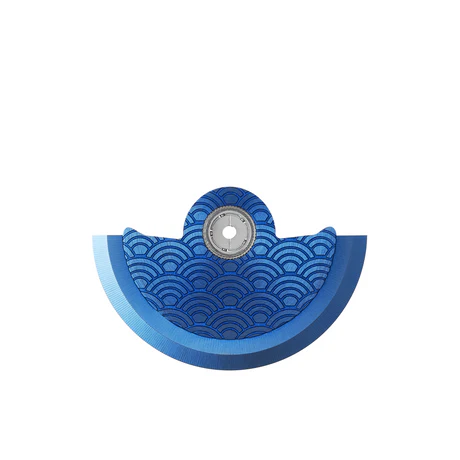
The real star is the Sakura dial—a stunning, original design that doesn’t mimic or pay homage to other watch brands.
Its intricate, black textured pattern evokes a sense of elegance and individuality, making it a standout choice for anyone who wants a watch that’s uniquely their own.
Unlike many modding kits that lean into familiar aesthetics inspired by luxury or mainstream watches, the Sakura dial feels fresh and authentic. I was drawn to its bold yet refined look, which feels like a statement piece without trying too hard. Plus, the kit’s all-inclusive nature and customization options sealed the deal.
Here’s why this kit is perfect for beginners:
All-Inclusive: Includes tools, parts, and instructions—no extra purchases needed.
Beginner-Friendly: Pre-cut stems and clear guides make assembly less intimidating.
Customizable: Add your personal touch with optional parts like rotors or straps.
Disclaimer: Namoki Mods provided this kit for free for this collaboration. I received no other compensation, and all opinions are my own.
Unboxing the Sakura Dress Watch Kit
The kit arrived promptly with solid packaging and everything needed to build a watch:
Watch parts (case, dial, hands, movement, crown, strap, etc.)
Tool kit (tweezers, hand pushers, case back opener, etc.)
Warranty and instruction pamphlet
Included: Tool kit (tweezers, hand pushers, case back opener, etc.)
One note: the included movement holder felt a bit flimsy for a beginner like me. I used my own, but I recommend grabbing a sturdier one from Namoki Mods if you don’t have one. Get one from Namoki Mods here.
Step-by-Step Guide to Building the Sakura Dress Watch
Here’s how I assembled the watch, with tips for first-timers:
Step 1: Attach the Dial to the Movement
Trim the dial’s legs using the provided tweezers
Slot the legs into the movement’s holes for a secure fit.
Pro Tip: Double-check with the instructions manual & the movement that you are trimming the right legs!
Step 2: Install the Hands (The Tricky Part!)
Rotate the crown clockwise until the date changes, then set the hour hand at 12:00.
Use the hand pushers to attach the hour, minute, and second hands. This took trial and error—be patient!
If the hands don’t sit snugly or misaligned, use the included dial protector and hand remover tool to try again.
My Experience: This was the hardest step. The second hand was especially tough, but the kit’s tools (like the dial protector) saved the day.
Step 3: Assemble the Case
Release the stem from the movement.
Place the movement and dial into the case, ensuring it’s dust-free and seated properly.
Insert the pre-cut crown stem (a beginner-friendly feature—no cutting required!).
Tighten the screw-down crown and case back using the case-back opener.
Pro Tip: The screw-down crown feels sturdy and well-made, adding a premium touch.
Step 4: Attach the Strap
The kit includes a quick-release leather strap, which is super convenient.
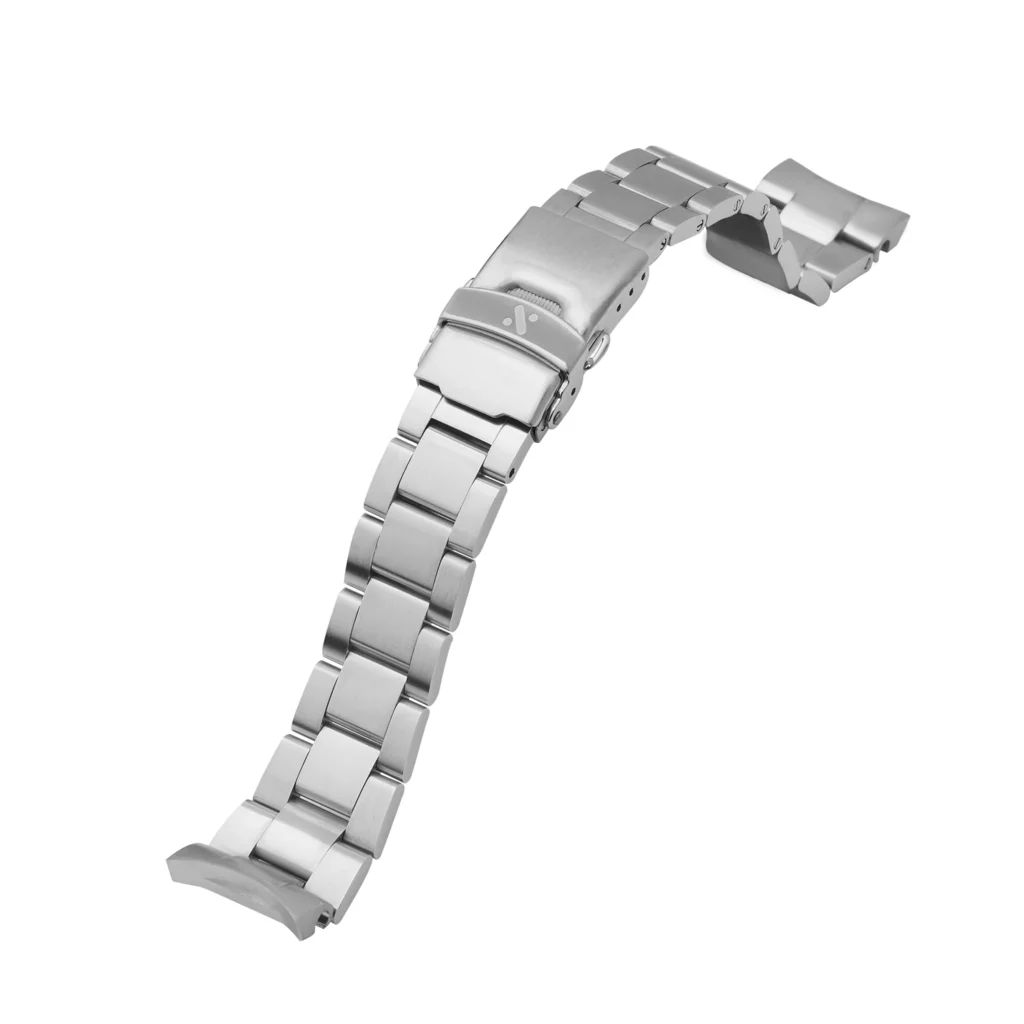
For my custom Midnight Sakura Tide, I swapped it for a solid end-link bracelet from Namoki Mods because the leather strap was too big for my 150mm wrist.
Customizing into ‘Midnight Sakura Tide’
The standard Sakura Dress Watch is gorgeous, but I wanted to make it extra special. Here’s how I customized it:
Silicone Gasket: Added silicone for a better seal.
Bracelet Strap: Opted for a solid end-link bracelet, which felt surprisingly high-quality compared to my other watches (like my SKX’s Jubilee bracelet).
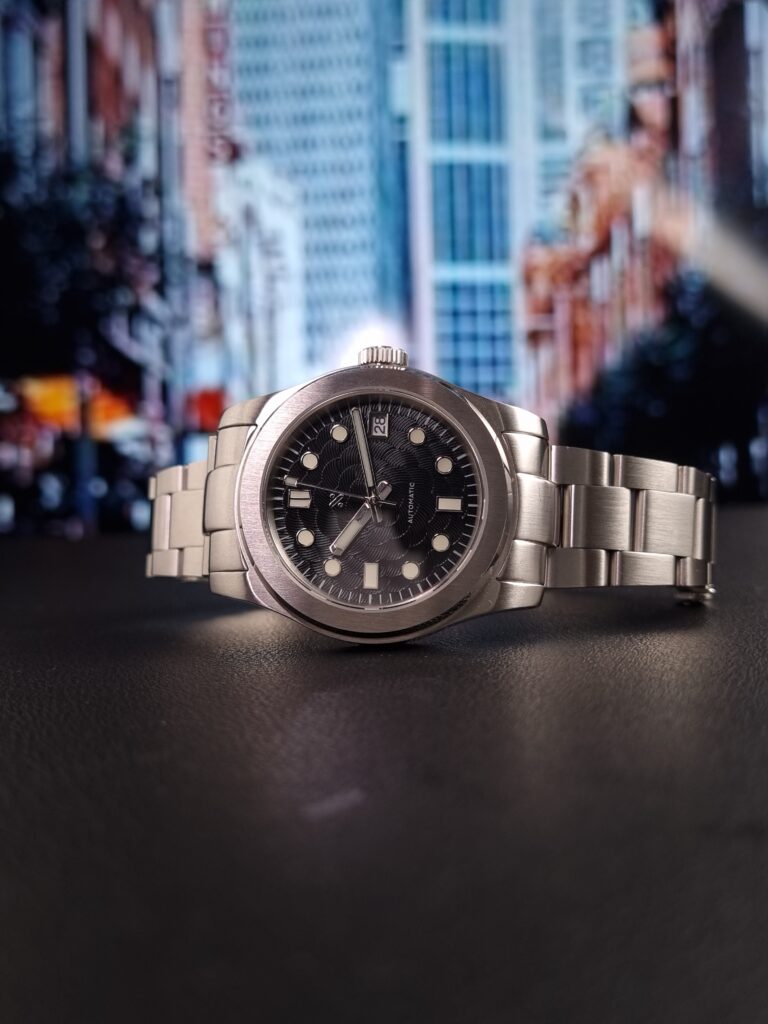
The result? A stunning watch with a black Sakura dial that I named Midnight Sakura Tide for its unique, personal flair.
Products Used in the Tutorial
Here’s a quick recap of the key components I used:
Want to grab these products? Check out my affiliate links below and use ASHLEY10 or ASHLEY5 for extra savings!
Start your watchmaking journey with this all-inclusive kit.
Building this watch was a blast! The kit is a fantastic gateway for anyone curious about watchmaking. Highlights:
Complete Kit: Everything you need is included, from rodico for dust removal to a hand remover tool.
Beginner-Friendly: Clear instructions and pre-cut parts make it accessible.
Room for improvement: While the kit is impressive, a couple of areas could be better. The leather strap felt a bit too large for smaller wrists like mine (150mm), which made it uncomfortable until I switched to a bracelet.
Also, I found the hand pushers confusing—there wasn’t clear guidance on which pusher to use for the hour, minute, or second hands, leading to some trial and error. Labeling the pushers or including a quick guide in the instructions would help beginners like me.
Overall, it’s a perfect first step into watchmaking. The process was rewarding, and I can see why modding enthusiasts love it!
The Watch Itself
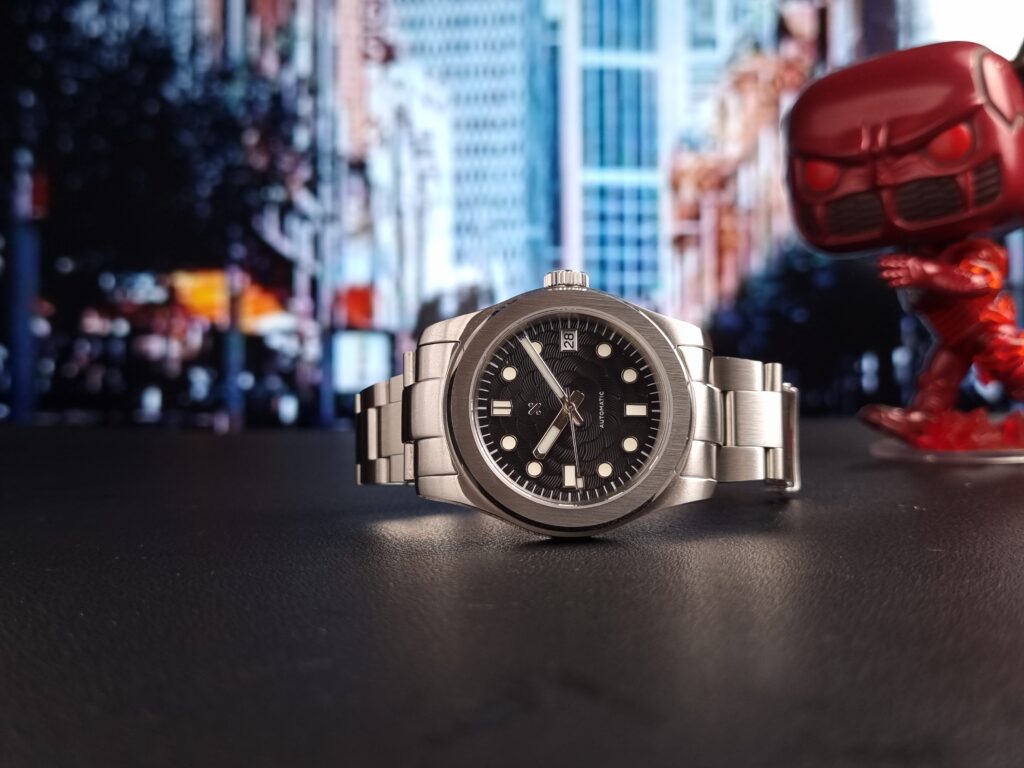
I’m obsessed with my Midnight Sakura Tide! The black Sakura dial is gorgeous, the bracelet feels heavy and premium, and the custom rotor adds a playful touch. I’ve been wearing it everywhere, and I love snapping photos of it. Maybe it’s the Ikea Effect—psychology says we value things more when we build them ourselves—but this watch feels special because I made it.
Watch the Full Tutorial
Want to see the process in action? Check out my YouTube video for a detailed look at building the Sakura Dress Watch:
Final Thoughts
Namoki Mods’ Sakura Dress Watch kit is a must-try for anyone interested in DIY watchmaking. It’s fun, approachable, and lets you create a watch you’ll love to wear. Have you tried watch modding, or are you tempted to start? Share your thoughts in the comments, and don’t forget to follow me on Instagram and YouTube for more DIY projects!